The next phase

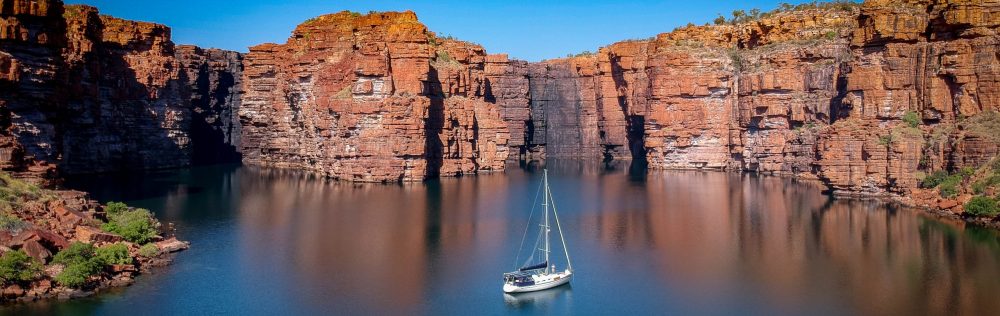
Sunny Spells is now anchored in the still waters of Phaeton Bay, Tahiti. We motored down here from Pointe Venus this morning in light air, entered the lagoon through Passe Tapuaeraha — threading between sets of surfers catching the long left-handers — and made our way into one of the calmest, most secure anchorages we’ve seen in months. The boat barely moves and it’s a perfect place to pause, reflect, and start building what comes next.

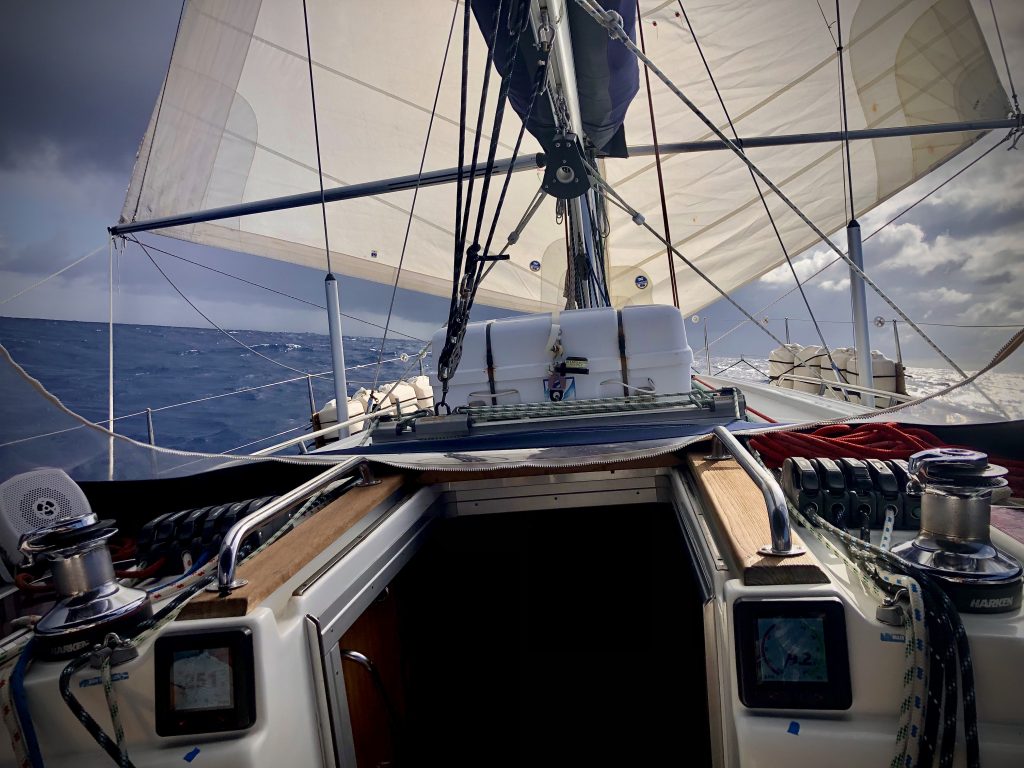
We’re particularly pleased with how well our new cockpit displays performed during the Pacific crossing. The two displays installed either side of the companionway when we were still in the Med ran non-stop for the entire crossing without a single reboot. Conditions were full-on at times — decks wet, wind on the beam, occasional green water over the rail — and the units shrugged it all off. Salt spray, sun, heat, and constant use: no glitches, no drama.

Over the course of 4,000 miles, the displays earned their keep. The high-contrast, legible graphics meant we could easily read them from across the cockpit, even in bright sunlight or in the pitch dark of night watch. The self-dimming brightness was flawless — it always seemed to be just right, whether under the noon sun or a moonless sky.

The interface to our masthead windvane was a noticeable improvement over the old ST60: a smoother and more stable wind angle display, damping was effective without lag, making the readout far easier to steer by.

The touch interface also came into its own. Even when wet with spray, the touchscreen remained responsive. And because we could configure either screen to show any data, we could always get the info we needed at either helm — when had steering we both prefer a heading display straight ahead with the wind on the other display.

I’m convinced these displays will fill a void in the market. My goal for the coming weeks: make it even more useful, more intuitive, and even more like the touch devices we already use every day.

What’s coming:

  • A navigation display with a large heading, a CDI, and SOG, COG, and DTW feeds.
  • A dedicated true wind pointer on the wind instrument screen, so we can see both true and apparent wind at the same time, rather than toggling between them.
  • A UI that does away with the physical buttons. The touchscreen has proven itself — even in rough, wet conditions — so we’re embracing it fully with a swipe-based interface to move between screens (or “apps”), and tap targets on-screen (like units or values) to change them, just like you would on a smartphone.

It’s exciting to be in a place where we can pause and build. Phaeton Bay is quiet, sheltered, and still enough for a floating workshop. Over the next few weeks, while Sunny Spells rests, we’ll be coding, testing, and bringing these new features to life — right here on the water where they belong.

Photos to follow — for now, it’s time for a swim, a stretch, and maybe a glass of something cold. After all, landfall has its perks.

Of Goosenecks and Galápagos Dreams

As we were enjoying the sunset this evening, we heard a loud cracking noise from the direction of the mast. On closer inspection it transpired that the 12mm stainless steel pin that holds the gooseneck together had sheared clean off. A disturbing breakage for sure. After rolling the genoa away we brought Sunny Spells head-to-wind and dropped the main. By this time part of the pin had fallen out and the boom was about to fall on the deck!

How lucky that it chose a time when we were drifting with 4 knots of apparent wind and we were there to witness it. As it was getting dark, we just hacked together a temporary fix to secure the boom to the gooseneck and stop it from moving. Our challenge for the next day was to devise a repair that would last 3,543 miles to Nuka Hiva…

After a slow night, close reaching on the headsail only, we got to work first thing to repair the gooseneck. Crawling along at 4 knots under headsail only when we were faced with at least 4 days of windward sailing was just not an option.

While on night watch I scoured my memory banks trying to remember whether I had something, stowed somewhere, that could be used to replace the broken pin. I had a mental picture of a stainless-steel pin of about the same diameter (1/2 inch) but could not place where it had come from or what it was used for. I eventually decided that, if it in fact existed, it was probably in the box of running rigging fittings in the starboard lazarette. Joy of joys when, on checking this morning, I found a pin, 1/2 in diameter and about 6 inches long in that exact spot. It has a 90-degree bend in one end and holes drilled to take split rings. I recalled that it used to secure the old anchor to the old bow roller when I bought Sunny Spells. It was about 1/2 in too long, but otherwise a perfect fit, with a stack of washers scavenged from other places used to fill the excess length.

Once the replacement pin was fitted we hoisted the main and within half an hour it was blowing 18 knots and we were flying along! Both crew members were pretty relieved!

Bahamian Moor

After such a restless night I was desperate to get our anchoring arrangement a little more secure and reduce the swinging radius.  Somewhere in the distant past when I was dreaming about sailing and reading everything I could lay my hands on on the topic, I had come across the concept of a “Bahamian Moor“: two anchors with the boat moored in between. I suspect it would have been in one of Hal Roth’s books.

Anyway… As I was still carrying the 36lb Lewmar Delta anchor that came with the boat and 20 metres of 10 mm chain,  I decided to have a go.  First I had to re-position the primary bower (a 60lb Manson Supreme).  I could not do this without Gilli’s help as it was still gusting 25 knots.  It was hairy as it was nearly low tide, but (me driving and Gilli working the windlass) we managed to get the anchor secured without ending up on the sand bank or colliding with another boat.  I shackled the secondary chain to the primary, veered an extra 20 metres of chain  and took the anchor out with the dinghy.

Once the second anchor was in, I winched us the 20 metres back towards the primary anchor, tightening the chain between the two anchors. The result: a swinging radius equal to a mooring! The screenshot shows the new swinging track (yellow) over the previous 36 hours (grey).

As an added bonus the boat is now unable to sail around the anchor as it did last night.

Windlass Overhaul: Part II (Mod)

I’m now thoroughly bored with trying to fix the windlass

Having cleaned it out and re-fitted the windlass earlier, it worked perfectly, twice! I’ve now had a further two attempts and think I have it licked. This is what I ended up doing:

  • I fitted a sealed bearing to the top of the electric motor (replacing the original, shielded bearing) the part number for this bearing is 6201LLU/2AS. Read an explanation of the difference between open, shielded and sealed bearings if you’re into that sort of thing… This should hopefully prevent a recurrence of the inside of the electric motor being coated with grease. This was the only way of solving this issue as there is simply no room to fit a separate lip seal. You do have to wonder whether a sealed bearing might have been fitted in the first place?
  • I machined the old, worn bronze bush that is meant to support the windlass’ output shaft’s bottom end (and probably the most highly stressed part of the windlass…) to take a HK1512-B drawn cup needle roller bearing insert (I kid you not!). The output shaft was also machined down to 15mm diameter (from 16mm) to suit the new bearing. Once you measure something for machining, you really get a feel for the workmanship that went into it. It was a bit disappointing to find that the accuracy of the machining is not great, with the output shaft top bearing having an interference fit while the drive gear’s fit on the same shaft is a bit “loose”, to say the least.
  • I replaced the electric motor brushes and re-wired the brush holder. This bit really annoyed me, as it required a third removal of the windlass when it only turned about three revolutions under load… It would appear that the brushes had absorbed grease and, under load, the heat of the current flowing through the brushes would cause a film of grease to be deposited on the commutator – end of windlass! Further frustration was caused by the fact that South Pacific wouldn’t sell me the brushes. I was told to send the windlass in for a quote and repair (yeah, right, throw good money after bad?). When I showed the electric motor to my local auto-electrician (Paul Bagnalls in Mona Vale), he was not impressed with the small brushes, given that they had to carry higher currents than your average starter motor. He reluctantly sold me a set of starter motor brushes (thought I was wasting my time and money), which I then sanded down to the correct size using a belt-sander, holding the brushes in the vice! Not elegant, I grant you, but it worked! The brush holder was also re-wired with heavier guage wire.
Sealed bearing fitted to windlass with old bearing for comparison

Sealed Bearing Fitted

Bush machined to take new roller bearing

Machined Bush and Bearing to Suit

New bearing cartridge fitted to gearbox

New Bearing Fitted to Gearbox

Replaced the electric motor brushes and re-wired the brush holder

Brush Holder and (modified) Brushes

Fortunately, it appears the windlass has now had a new lease on life, having picked up the anchor three times on the weekend. My next move was going to be replacement. The modification of the output shaft has removed all the slop and wobble from the capstan – let’s hope it lasts a bit longer than the original!